How to Bind Off Knitting
One of the first things you need to know when starting to knit is how to bind off your work. Binding off is how you finish the project and take it off the needles. There are many bind-offs to choose from; here I will demonstrate the basic bind-off. It is the most commonly used and is suitable for most projects. It gives a nice firm edge and is easy to execute, even for beginners.
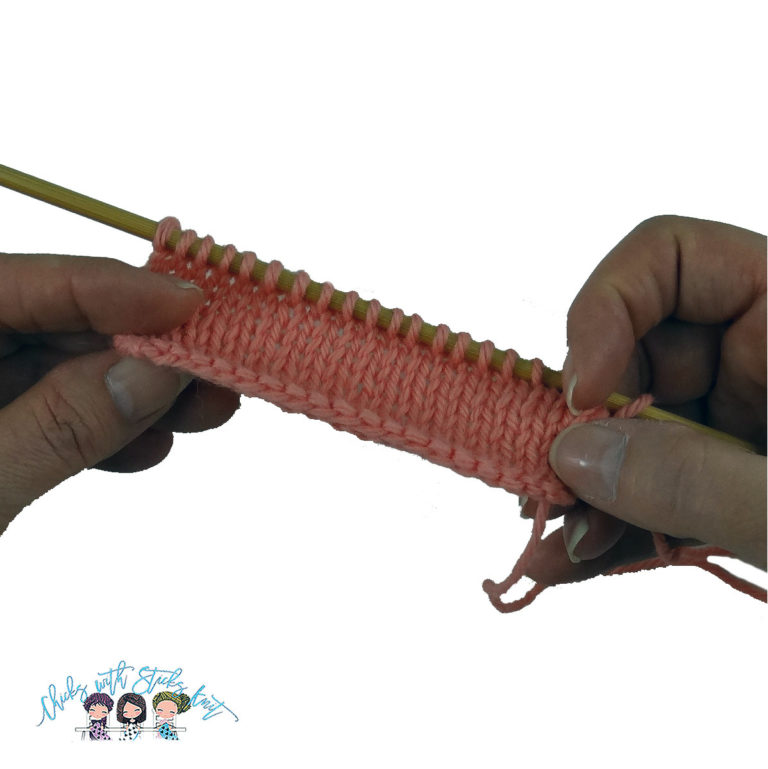
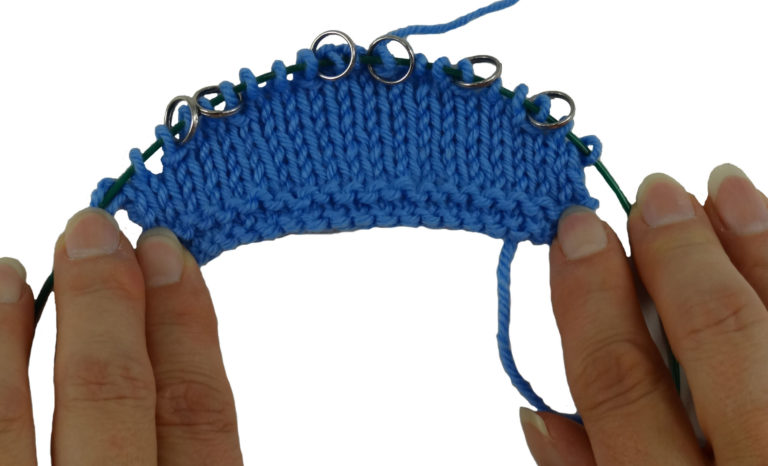
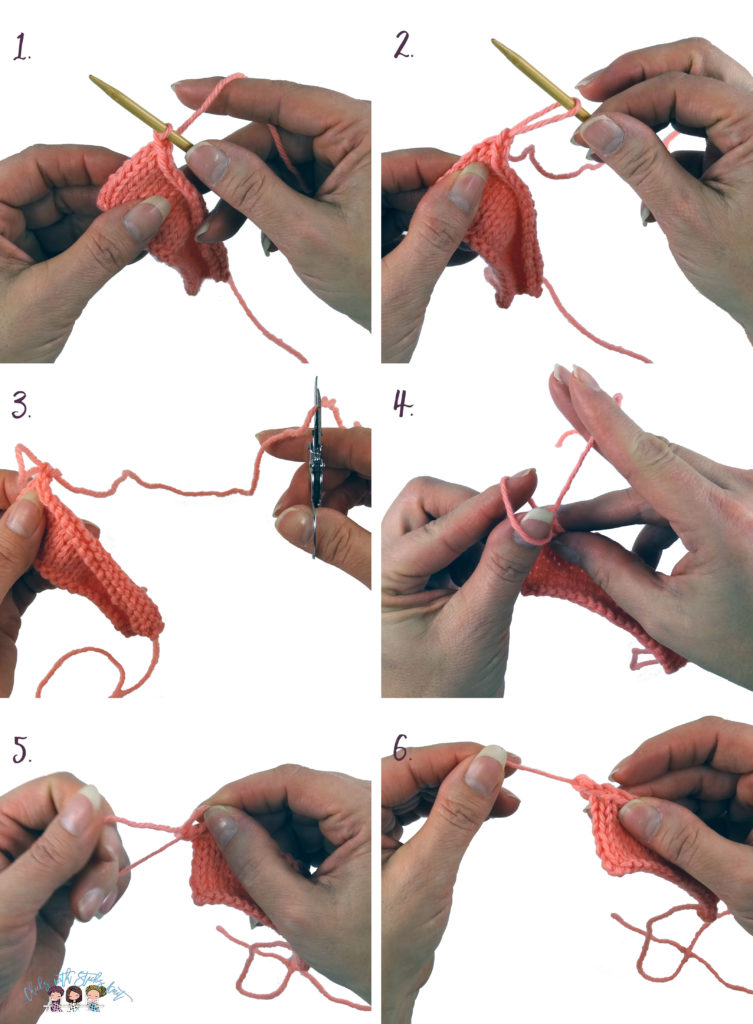
When you reach the end of the pattern it will tell you to bind off your work. This is done by following these steps:
Step 1: Knit the first two stitches on the needle one at a time.
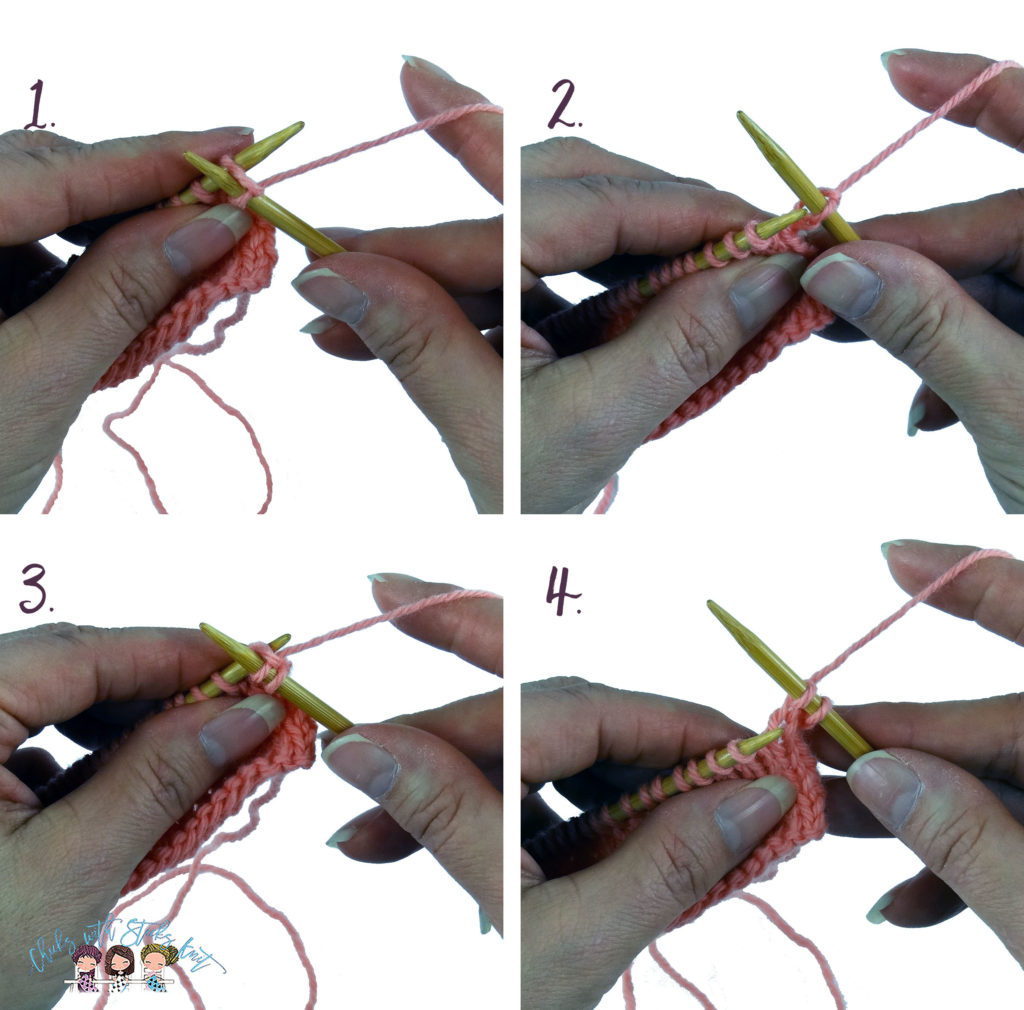
Step 2: Pick up the first knit stitch (with your left-hand needle). It is the one furthest to the right on the right-hand needle, lift it over the top of the second stitch and take it off the needle.
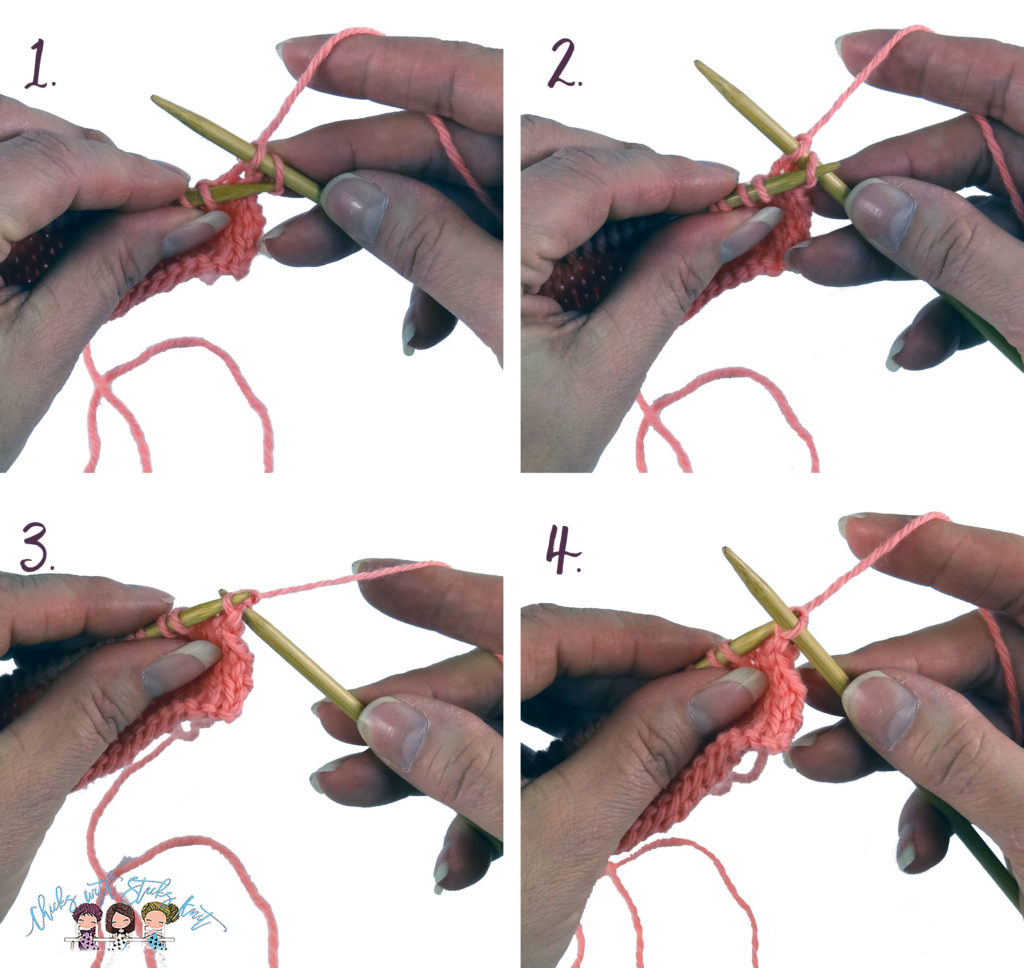
Step 3: Knit the next stitch and repeat Step 2.
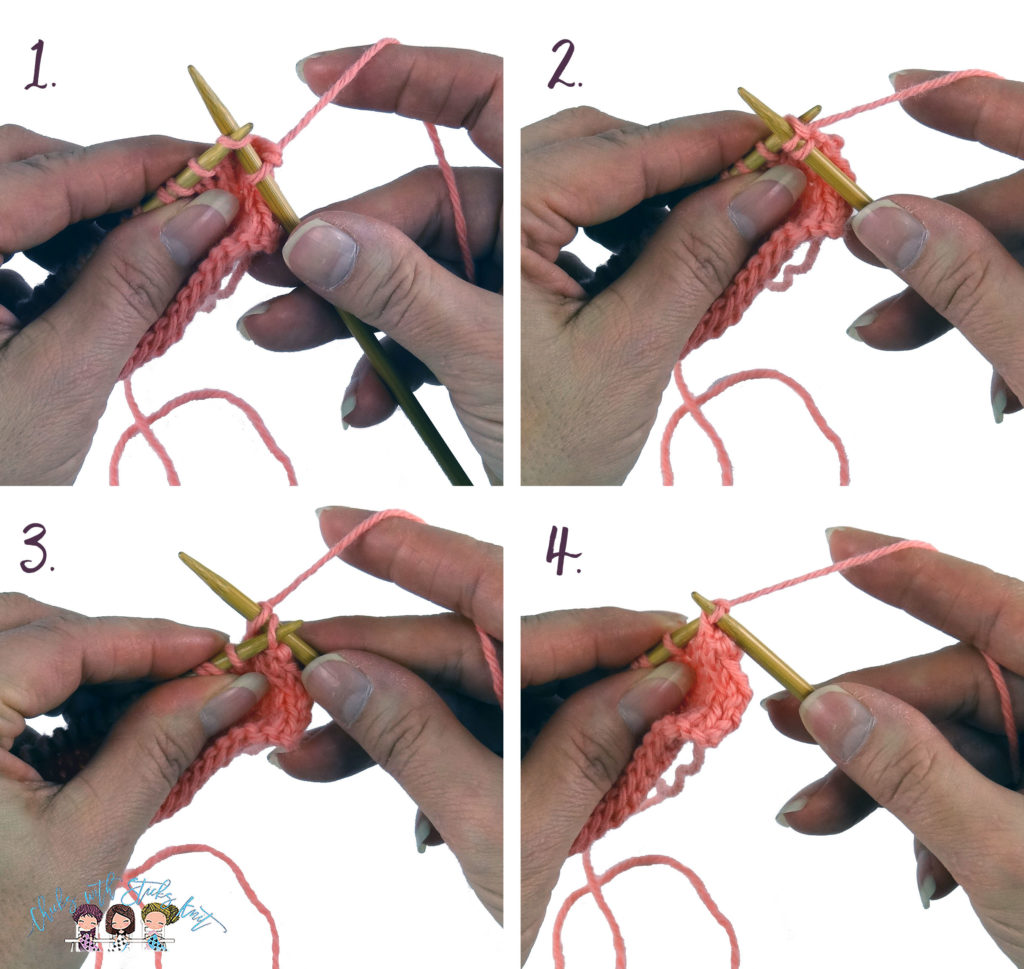
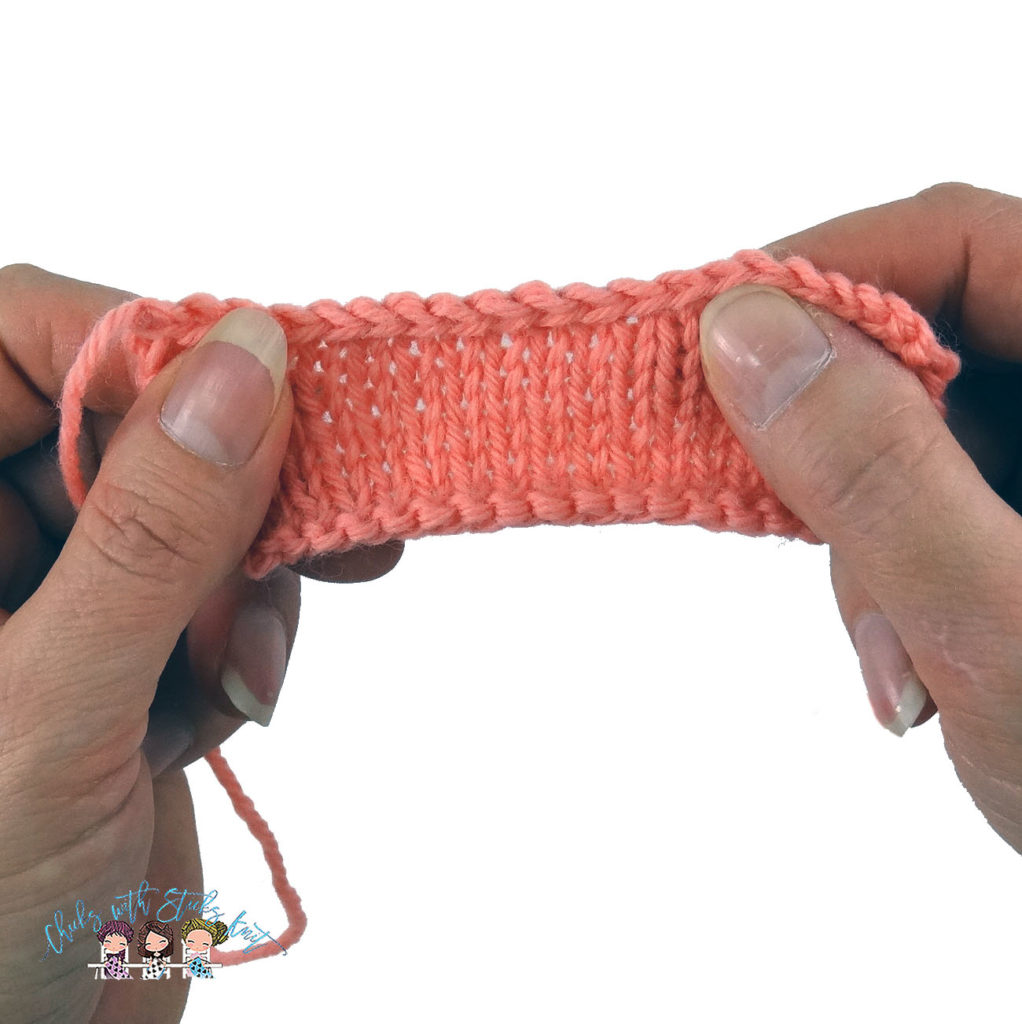
Continue repeating Steps 2 and 3 until only one stitch remains. Cut your yarn leaving about a 6-8 inch tail and pull the tail of the yarn through this last remaining stitch.
That is how to do a standard bind-off. Sometimes the pattern will tell you to bind off when it is a purl row. This is executed in exactly the same way except that purl stitches would be performed instead of knit stitches. This will create the same firm bind-off and look exactly the same.
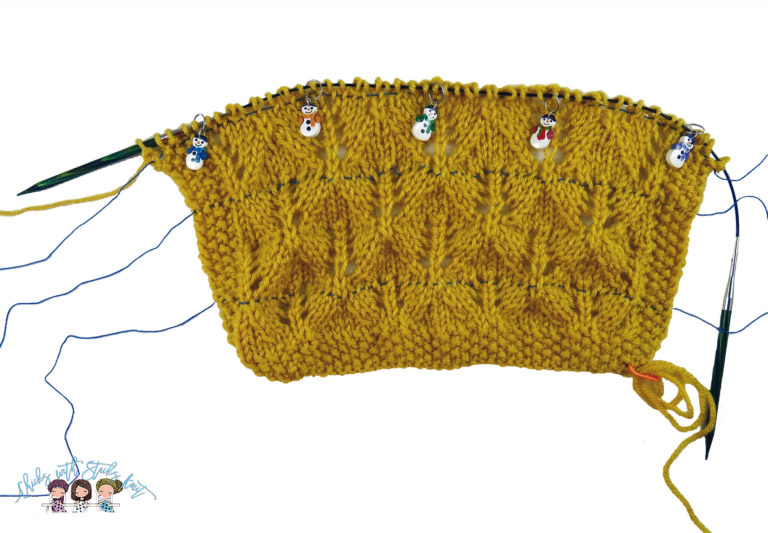
Sometimes your pattern will tell you to bind off “in pattern”. This can be required on ribbing or when you are knitting any sort of pattern. Ribbing is usually used on collars, cuffs of sleeves and socks and waistbands of garments. It is usually done in a 1×1 (knit one, purl one) or a 2×2 (knit two, purl two) pattern, although I have seen it done in different patterns as well. “Bind-off in pattern” means that you just continue the pattern so if the pattern calls for you to knit the next stitch, then that is what you do. If a purl stitch is required next, then you would purl the next stitch. Continue working the bind-off alternating knit and purl stitches according to the pattern.
There are many other bind-offs to choose from; some are for specific purposes and some are more decorative, for example the I-Cord bind off. The Three Needle bind off is great for attaching multiple pieces together and is very easy to do once you get the hang of how to hold three needles with only two hands! I just recently learned how to do the Tubular bind off and I used it for binding off 1×1 ribbing, which had a very nice look. There are also stretchy bind-offs which are useful for binding off socks so that they can be stretched over the foot. There are many more to choose from depending on the project you are working on and what might be required but most of the time this standard bind-off is the best choice.
What if your bind off is too tight?
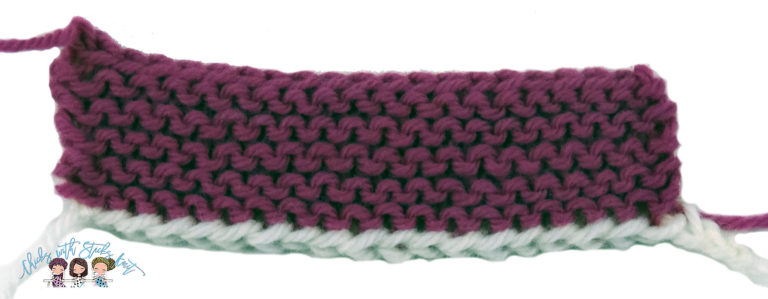
The most common problem that occurs with the bind-off is that it is done too tightly. Try to make your stitches nice and loose as you knit them, so they have the room to stretch over the stitch. If you find that you are struggling with a tight bind off here is a tip; use a needle one to two sizes larger to knit the stitches as you bind off. This will allow those knit stitches to be a little bit looser to accommodate the bind-off. I used to use a larger needle all the time because I knit so tightly. Now I have loosened up a bit and have enough experience to control my tension, so I don’t do it anymore.
If you are ready to bind off your project, then let me be the first to congratulate you on finishing a project. It takes a lot of hard work and dedication to finish a project. I hope you will share your project with me in the comments below.
Knit with Love my Friend,