Is Gauge Really That Important?
Have you ever knitted something that didn’t fit or didn’t really turn out the way it was supposed to? Sometimes it can be because the pattern was not very well written, but most of the time it is because of our gauge. Gauge is so important when knitting a garment that needs to fit. When you are knitting a blanket or a scarf, gauge is really not that important because if it turns out a little larger or a little smaller it really isn’t a big deal.
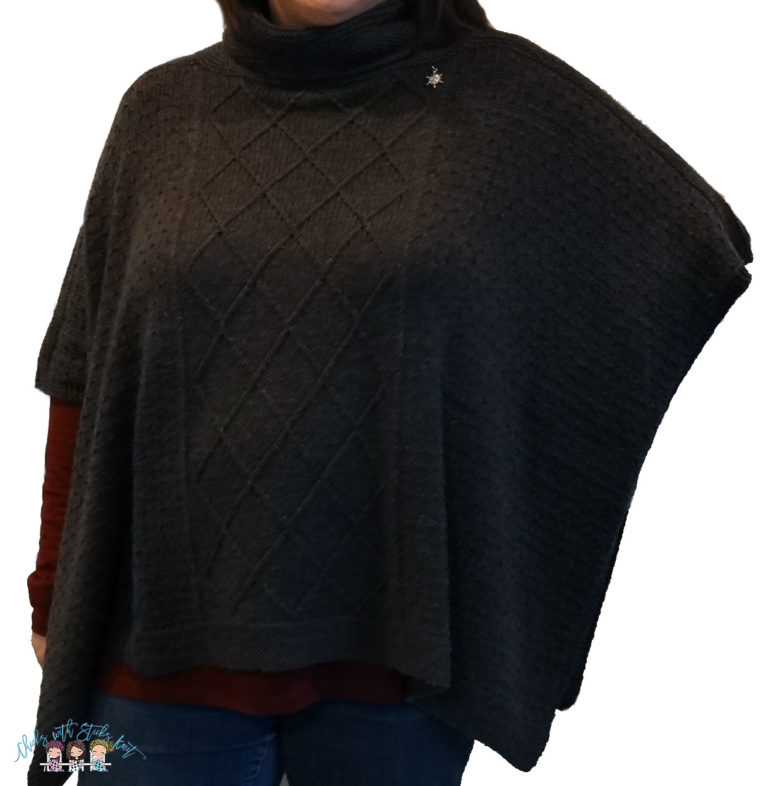
If you want to knit garments, then you want them to turn out well. Knitting a garment can cost a pretty penny for nice yarn and the number of hours that you put in can be in the hundreds. So, knitting a garment that fits well is important. Gauge helps you to ensure your garment will fit nicely.
The first step in gauge isn’t knitting at all. It is doing your measurements. You must know your measurements so that you know what size you should knit. Schematics on a pattern are very important. We are not all built the same so being able to look at all the measurements for the garment is important in choosing the correct size to knit. Take a look at the schematics and compare it to your various measurements. From there you can choose which size will, in fact, fit you the best.
Next you must knit a gauge swatch. Before you turn your nose up and decide you just are not going to waste your time on that, let’s change those thoughts and give you a reason why you will be excited to do a gauge swatch. Knitting a gauge swatch will help you make sure you choose the right yarn and needle for the project. It can save you hours of re-knitting and a ton of heartache and tears. Now let me tell you, doing a gauge swatch ahead of time does not mean you will not have to make adjustments or even start over but your chances of getting it right the first time significantly increase. I have done many projects where I did my gauge swatch and thought I had everything worked out, started my project and then decided it just was not right and had to start over. It is better to start over than put all that time and effort into something and it not be right in the end.
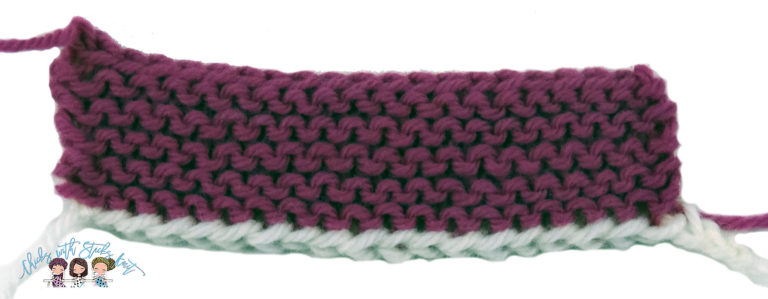
How you knit your gauge swatch depends on what the pattern calls for. You must read and understand which stitch it is asking you to do for the swatch. Most patterns will tell you how many stitches and rows will be in 4”. It will designate the stitch required. If no stitch is designated then you do stockinette (knit on the right side, purl on the wrong side). If your pattern is telling you to have 20 stitches and 28 rows in 4” there are a few ways you can set up the swatch. One way would be to cast on 24 stitches and knit as follows:
Row 1: Knit
Row 2: Knit
Row 3: Knit
Row 4: Knit 2 Purl 20 Knit 2
Repeat Row 3 and 4 13 times
Row 5: Knit
Row 6: Knit
Bind off
If your pattern tells you to have 20 stitches and 28 rows in 4” with a size 7 needle and your sample turns out larger than 4” you will need to go smaller with your needle. If your sample turns out smaller than 4” you will need to go larger with your needle. You repeat the process until you have found the perfect size needle to match the gauge.
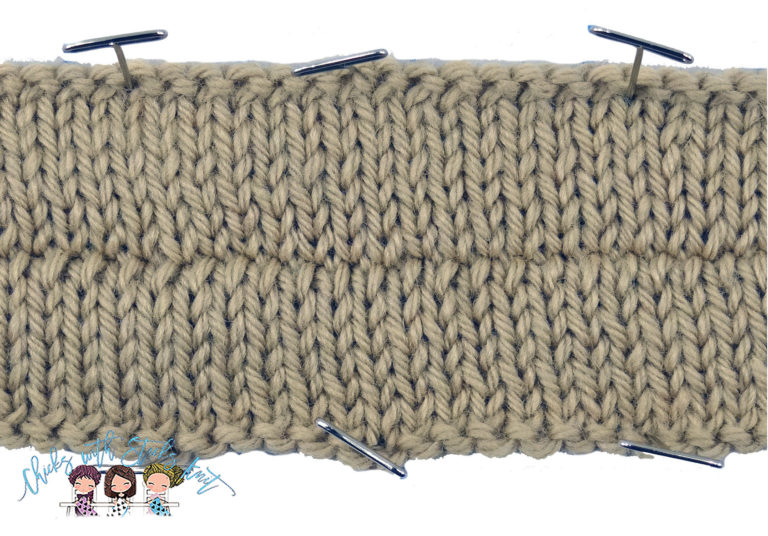
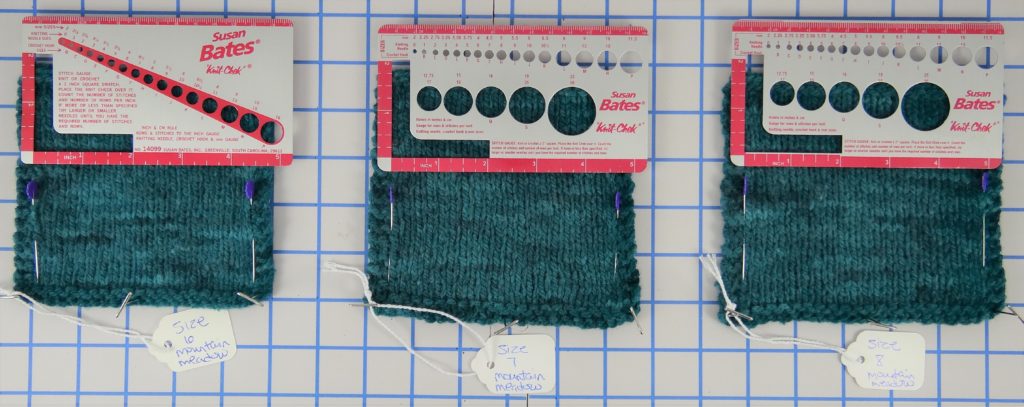
Next you must wash and block your gauge swatch. Don’t stretch it as you lay it out wet; you just want those stitches to relax. After it is dry then you can measure your swatch. With this method, the idea is that you measure the stitches in between the garter stitch border and see where you are. In the sample below I have cast on 24 stitches each time and each one measures differently because I used different needle sizes each time. You must repeat these steps with a different needle size each time until you reach the correct measurement.
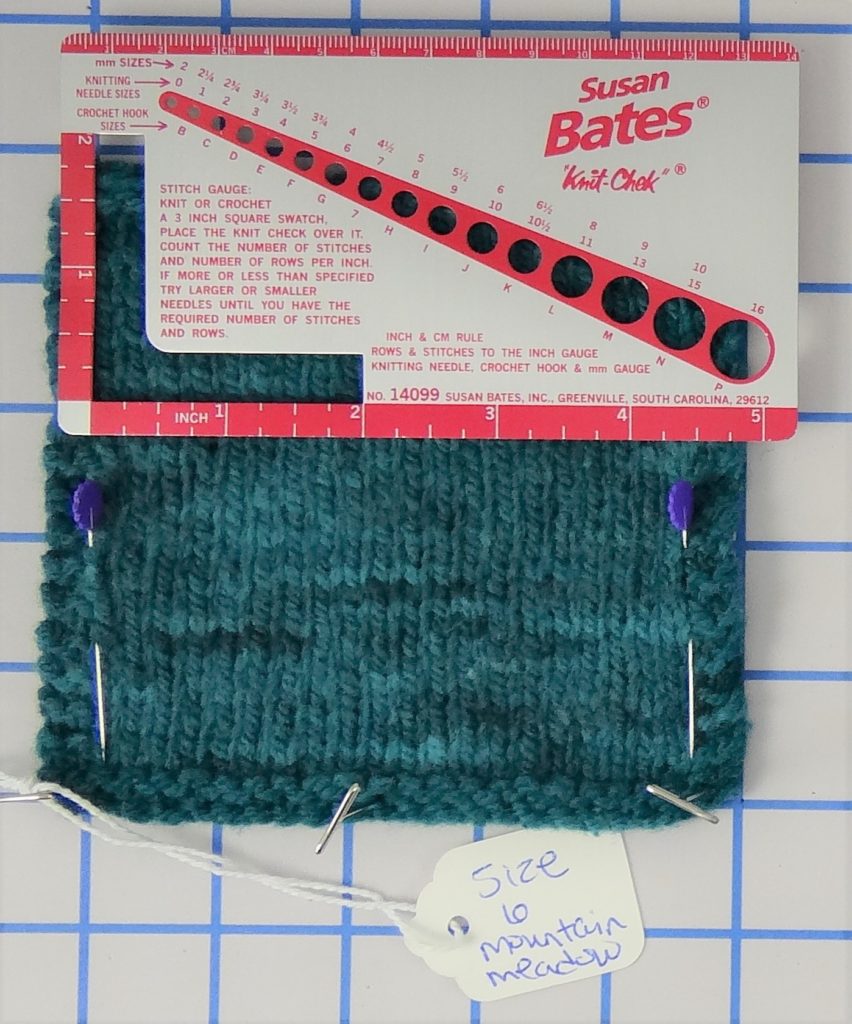
I am measuring the 20 stitches between the two border stitches on each side.
Sometimes you will not get gauge. Let’s say your pattern says to use a size 7 needle and your gauge should equal 20 stitches in 4” but your piece measures 4.25”. So, you do another swatch with a size 6 needle and it measures 3.75”. There is not a needle between a 6 & 7 so what do you do? One thing to do might be to change your needle material. If you knitted your swatches with a wood needle you might try re-knitting them with a metal needle. You can get different gauges with different needle materials, so it is important to be consistent when you choose your needle and not switch to a different material.

On a Size 7 needle with this yarn 20 Stitches = 4-5/8″
I am measuring the 20 stitches between the two border stitches on each side.
If that doesn’t work, it is possible that the yarn you have chosen might not work for the project you had in mind. You might switch to a different yarn and see if you get better results. The other thing you can do is to knit a different size than you were planning. This is where your math skills will come in handy. If your knitting produces less than the 20 stitches in the 4 inches, then if you knit the garment it will be too large.
On a Size 8 needle with this yarn 20 Stitches = 4-7/8″
I am measuring the 20 stitches between the two border stitches on each side.
Think of it this way, if your pattern says to cast on 100 stitches then according to the pattern gauge that would measure 20 inches. (100/20 = 5 and 5×4 = 20). But if your swatch measures 4.25 inches with 20 stitches then the same 100 stitches will actually measure 21.25 inches. (100/20 = 5 and 5×4.25 = 21.25) Your garment will be 1.25 inches too big. Let’s say you check the smaller size and it says to cast on 95 stitches. With your gauge of 4.25 your piece will now measure 20.18 inches. (95/20 = 4.75 and 4.75×4.25 = 20.18). This measurement is nearly the same as the larger size with your gauge. This is why a schematic in the pattern is really important because you will want to figure out how many sizes you should go down. You will want to compare what your actual measurements will be compared to the schematic. Taking extra time at the beginning will be worth it in the end.
A few other things to note about gauge is that if you’re knitting in the round you should check your gauge swatch in the round. Knitting in the round is not the same as knitting flat and you should make sure to check your gauge swatch accordingly. Over time, or with different moods (like if you are tense or frustrated your knitting can be tighter), your gauge can change so it is important to check it with each project. It is not uncommon to start out as a tight knitter and loosen up when you get more relaxed with your knitting. It is also not uncommon to start knitting and be a loose knitter because it takes time to practice holding your yarn for tension. Be mindful of whether you are constantly needing to adjust your needle size up or down. That will help you decide where to start with a new project and gauge.
The best piece of advice I can give you about gauge is be sure to check your gauge on your actual project after you start. I have checked my gauge on a swatch and decided it was right then actually started knitting on the project and have it been different. You may need to start over if you check the gauge on your project and find that it is quite a bit different. I want you to be a successful knitter and continue to improve your skills. Learning about your own knitting gauge will help you to knit garments that turn out beautiful and fit well too. Knitting is very time consuming and investing all that time will not be a benefit if your garment does not turn out the way you had planned.
Knit with Love my Friend,