How to do a Tubular Cast On; Designer Paula Pereira’s Method
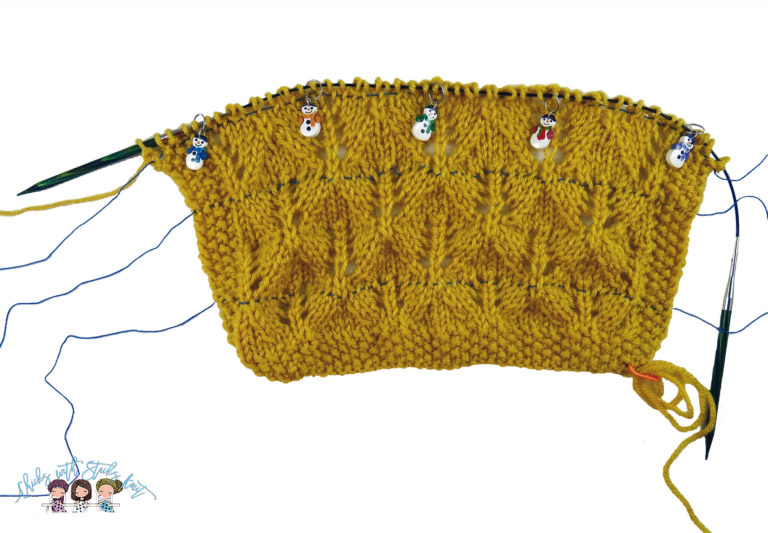
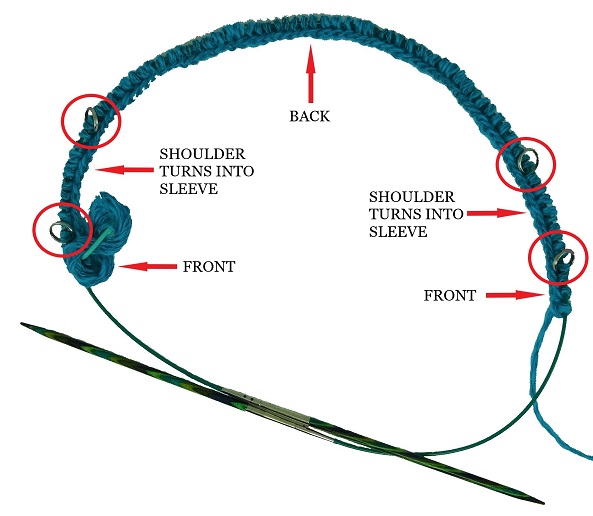
I had the pleasure of working with designer, Paula Pereira, on her Chevron Pattern Yoke Sweater. She taught us how to do a tubular cast on in a way that I have not seen documented very often. This technique will rock your world! This cast on will make a seamless, reversible cast on, ideal for ribbing. You can use this cast on for 1×1 ribbing or 2×2 ribbing. It is very stretchy which makes it perfect for yokes, sweaters or hats.
You will be amazed at how easy this cast on is to perform. Let me show you how to do it. We are going to imagine that your pattern calls for 100 stitches of ribbing. This number can be easily adjusted to what your pattern actually calls for, however for this example we are going to assume you need 100 stitches and want to knit 1×1 ribbing.
Step 1: First perform a provisional cast on using scrap yarn and a crochet hook. You can find a tutorial on how to do this here. Cast on one half of the required number of stitches, 50 for our example.
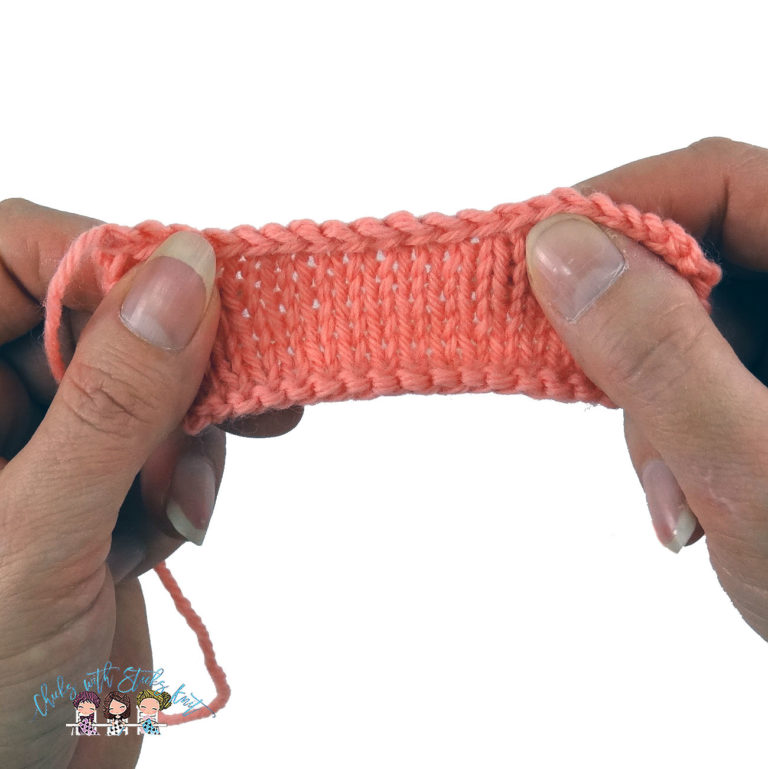
Step 2: Knit four rows of stockinette using the working yarn
- Row 1: Knit
- Row 2: Purl
- Row 3: Knit
- Row 4: Purl

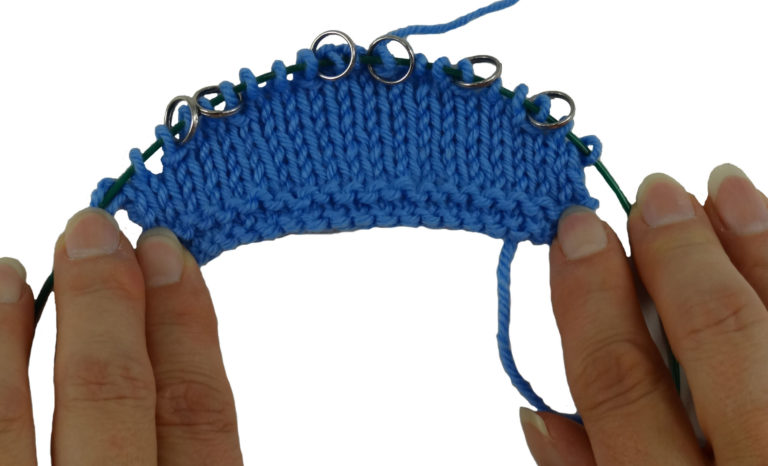
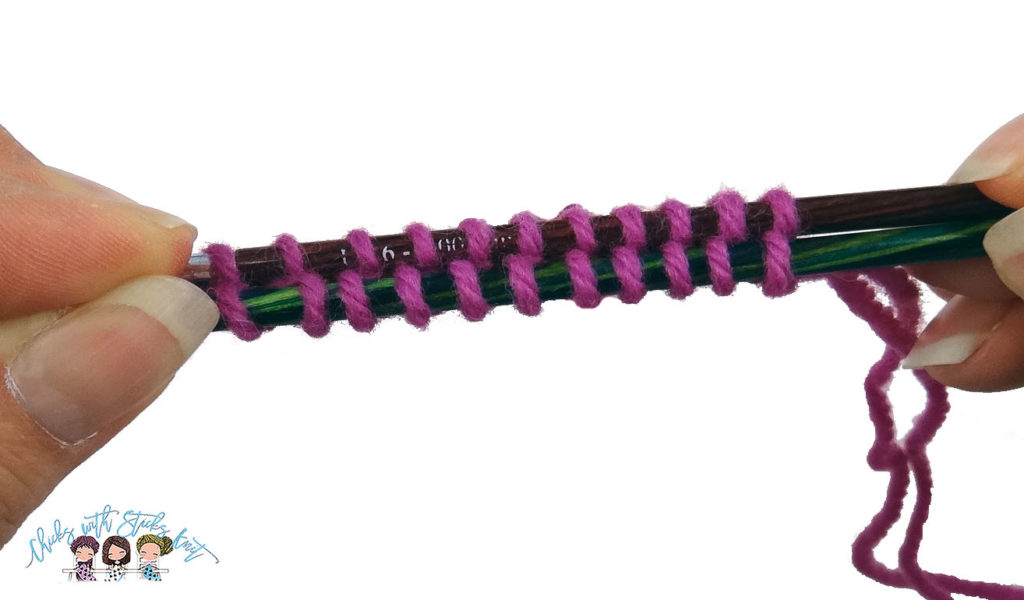
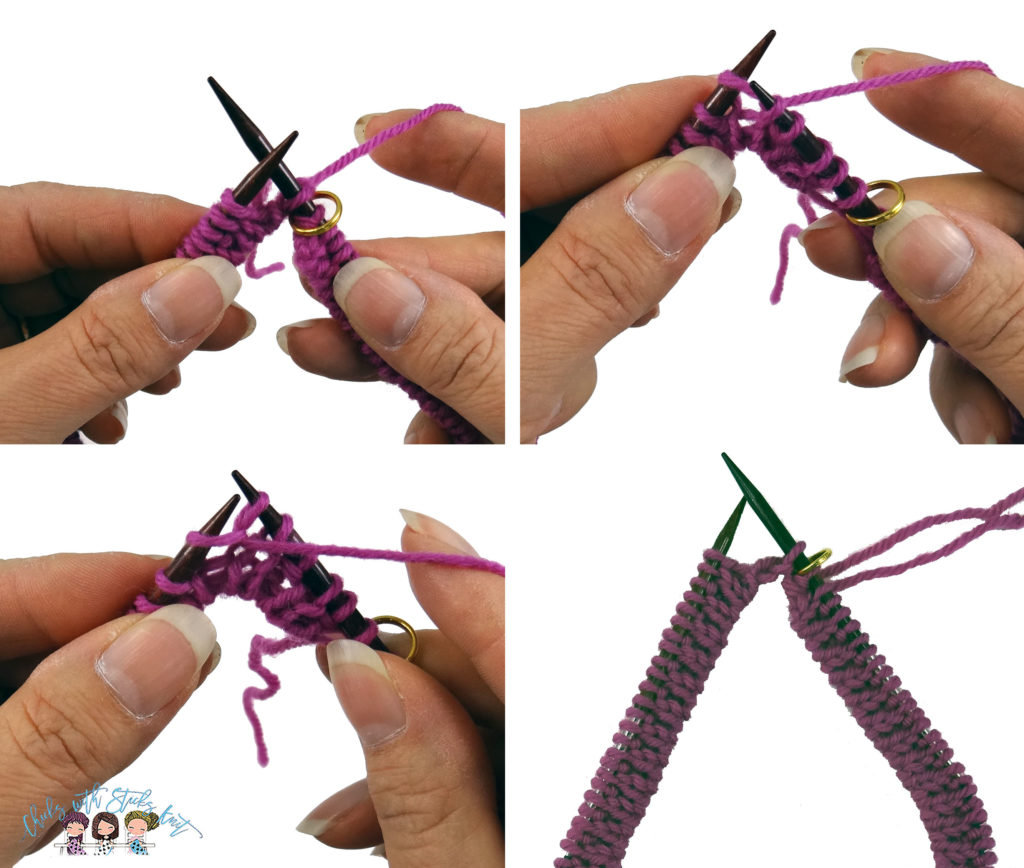
Step 3: Go back to the provisional cast on and replace the scrap yarn with a circular knitting needle. You can find a tutorial on how to do this here. You will have four rows of stockinette in between two needles. There should be 50 stitches on each needle.

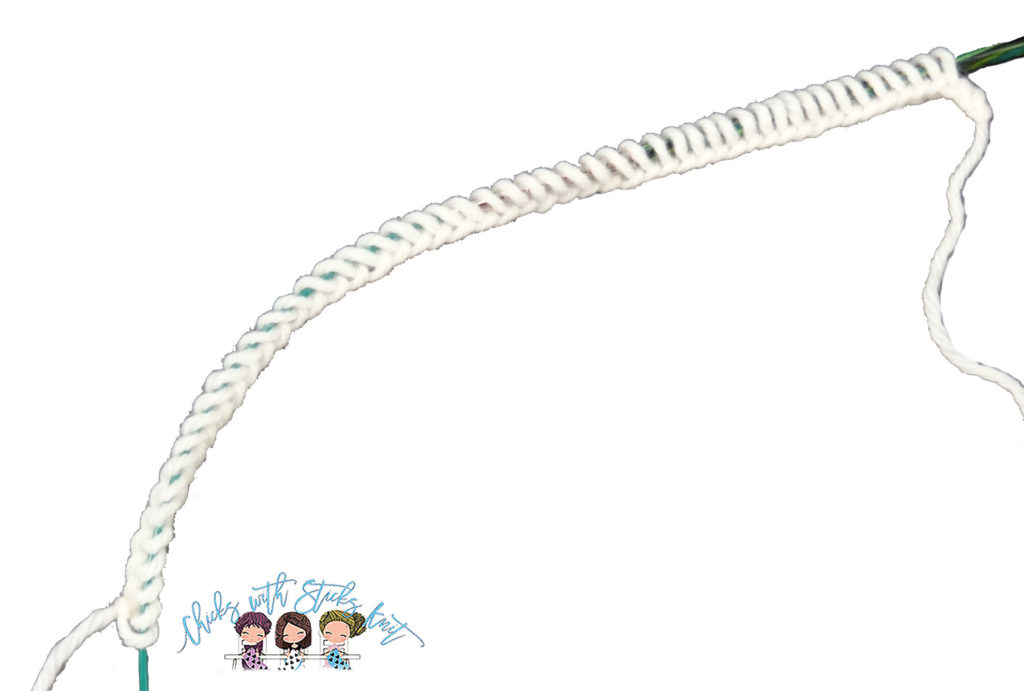
Step 4: Stretch the stitches out on the needles so that they are not bunched together. This will give you extra room to perform the next step; keep your working yarn on the right-hand side.
Step 5: Fold the stockinette strip in half with the wrong side (purl bumps) on the inside of the strip.
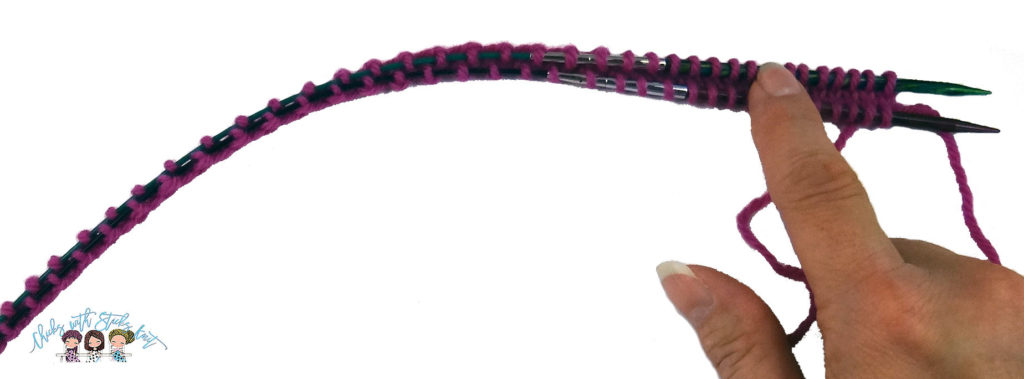
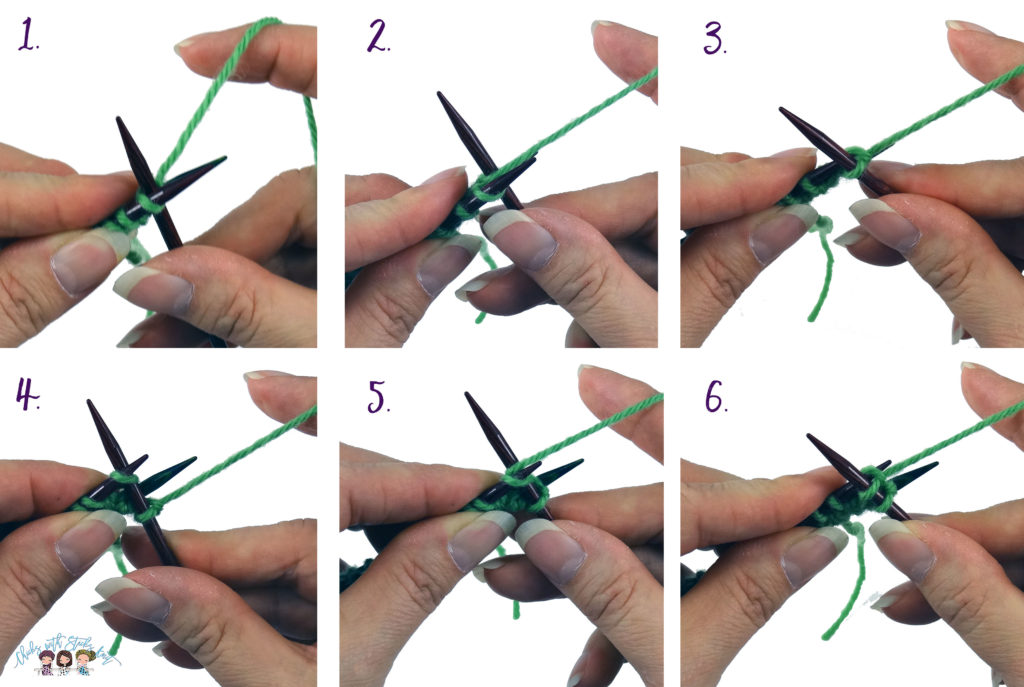
Step 6: Knit the first stitch from the front needle onto a third needle. This stitch should have the working yarn coming from it.
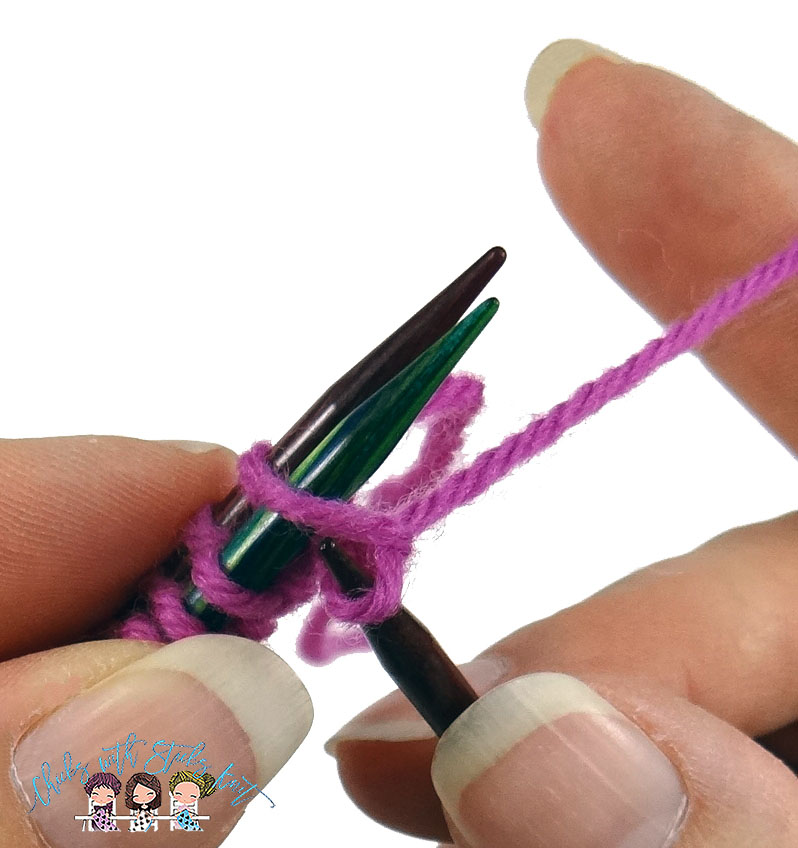
Step 7: Purl the first stitch from the back needle onto the third needle.
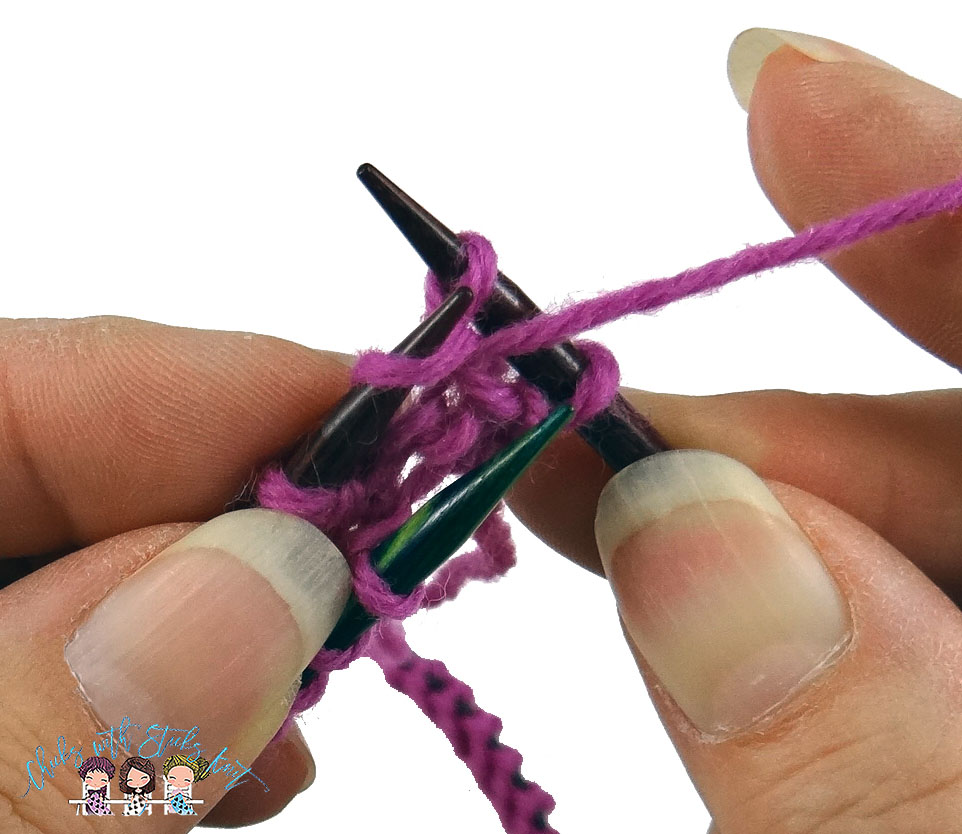
Step 8: Continue to knit the next stitch on the front needle onto the third needle and purl the next stitch on the back needle onto the third needle, alternating each one until all the stitches have been worked.
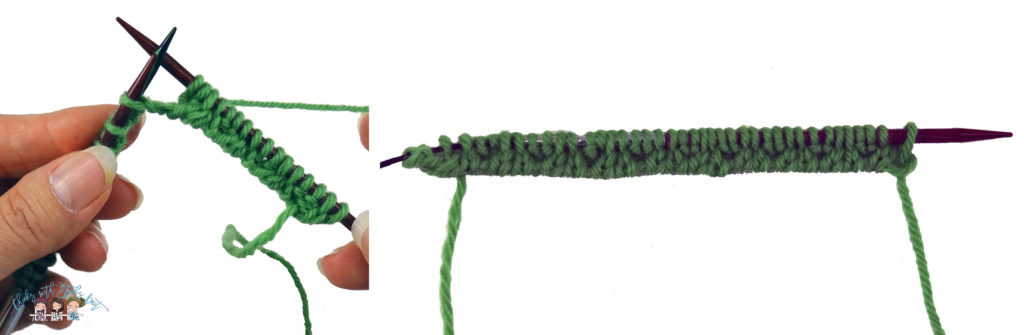
Step 9: Count your stitches. There should be 100 stitches worked.

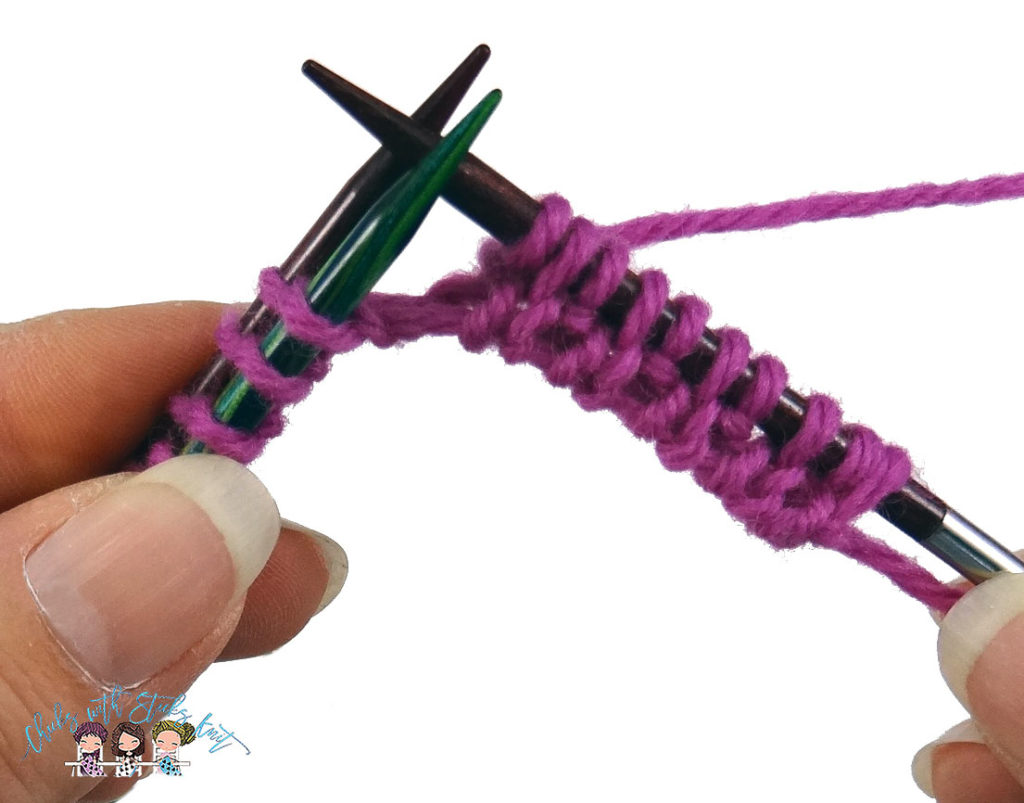
Step 10: Place a marker and join in the round making sure that the stitches are not twisted. A knit stitch should be visible. Knit the first stitch then purl the second stitch. Continue in a knit one, purl one repeat all the way to the end of the round.
As far as the needle size for this cast on goes, it is a good idea to use a needle one size larger than the pattern suggests for casting on. This will give you a little extra yarn to work with as it can become very tight working in between the two needles. However, since this is a very stretchy cast off it can flair out so it is best to try it and see if this is the case. If it does, you can change to a smaller needle size. Once the cast on is completed, change to the size of needle that the pattern calls for, either after you have joined in the round and completed one row or as you join in the round. The third needle that you start knitting in the round with can be the size the pattern calls for.
If the pattern calls for a 2×2 ribbing, you can use this same technique and steps with one modification:
Step 6: Knit the first TWO stitches from the front needle onto a third needle. The first stitch should have the working yarn coming from it.
Step 7: Purl the first TWO stitches from the back needle onto the third needle. Continue to repeat in a two by two pattern alternating two knit stitches on the front needle with two purl stitches on the back needle.

Here is how it looks after a few stitches and when it is completed. There is a 2×2 rib (knit 2 and purl 2).
The tubular cast on is very stretchy and is very beautiful. It looks like the fabric is continuous and doesn’t have a starting point. This cast on was much easier to perform than I first thought it would be. I hope you give it a try. You will be pleased with the results. Let me know below if you have used this type of cast on before and what kind of project you have used it on. I love hearing from you and especially love hearing about your knitting projects!
Knit with Love my Friend,