Step by Step Guide on How to Complete the Sleeves on Your Top Down Sweater
Now that you have started knitting your top down sweater you need to be able to complete it and knowing just what to do will give you the confidence to finish.
After you knit your sweater the pattern will tell you how to do your sleeves. Some sleeves will be shaped and will require decreases, and some will be straight and will not. Read the directions completely so you get an idea of the overall picture of what you are supposed to do. You may not understand everything the first time and that is okay. Start by completing each instruction one step at a time. This will help the big picture to come into focus. I like to use a sticky note to keep my eyes reading only one instruction at a time.
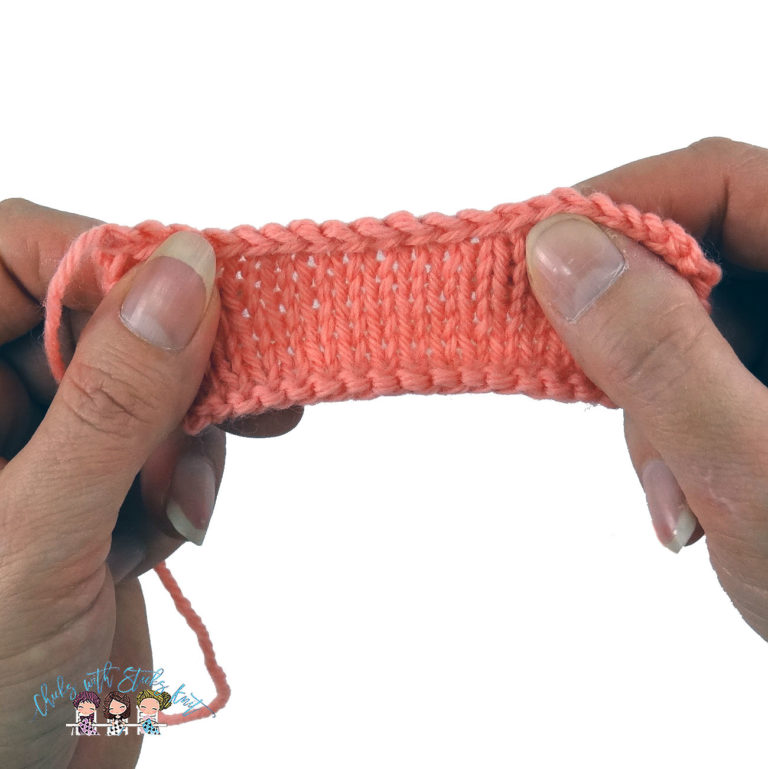
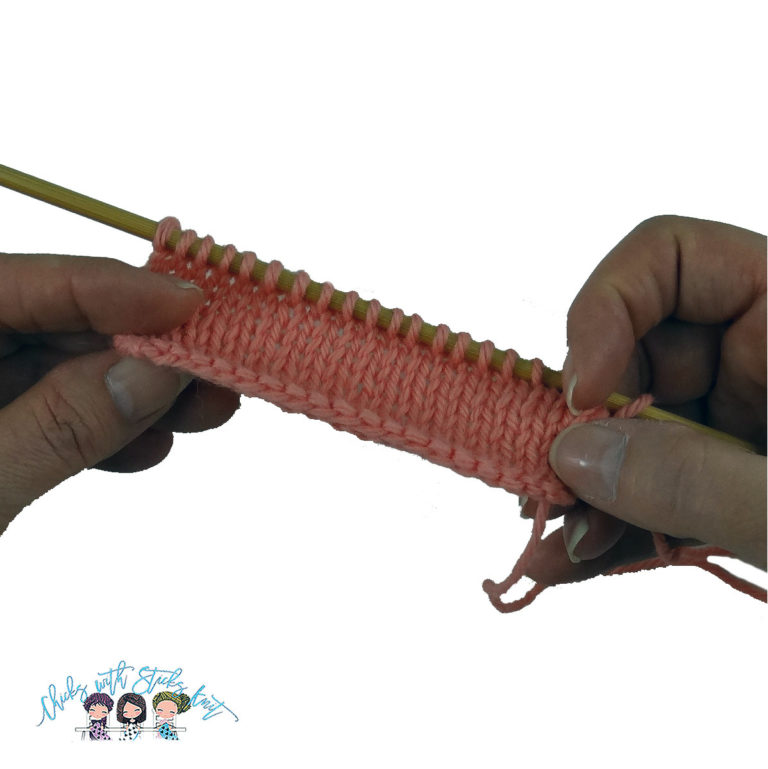
STEP 1: Your sleeve is probably being held on a piece of scrap yarn. The first thing you will do is get the stitches back onto the needle. For this part leave the stitches on the scrap yarn and insert your needle into each stitch. Try to make sure the stitch is sitting correctly on the needle with the right leg in front. Count your stitches to ensure you have them all, then if it looks fine cut your scrap yarn and remove it.

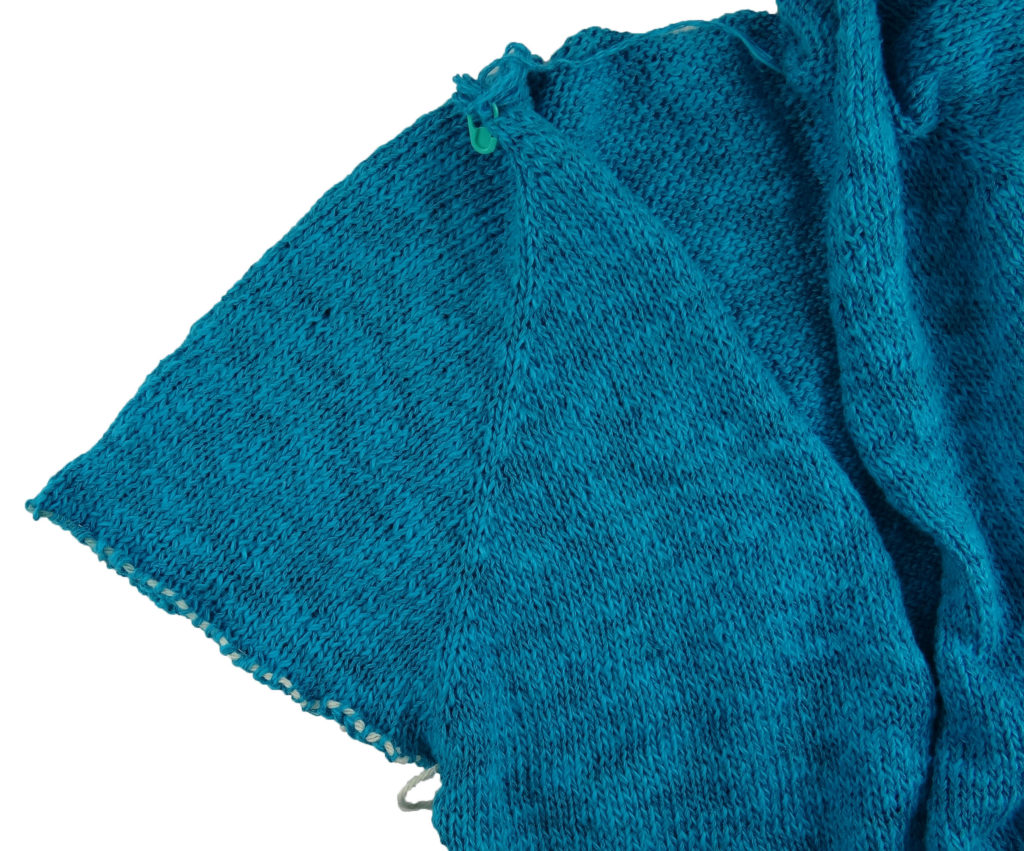
STEP 2: Usually your pattern will tell you to pick up stitches under the arm. I teach my students to do a cable cast on under the arm so that when you pick up your stitches you will have a sturdy place to insert your needle and create that stitch. In order to pick up stitches you insert your needle into a stitch on the fabric under the arm, rap your yarn and pull it through like you are knitting a stitch. By doing this you have just added another stitch onto the needle. Avoid picking up a stitch in a large hole; when you do this it only makes the hole larger.

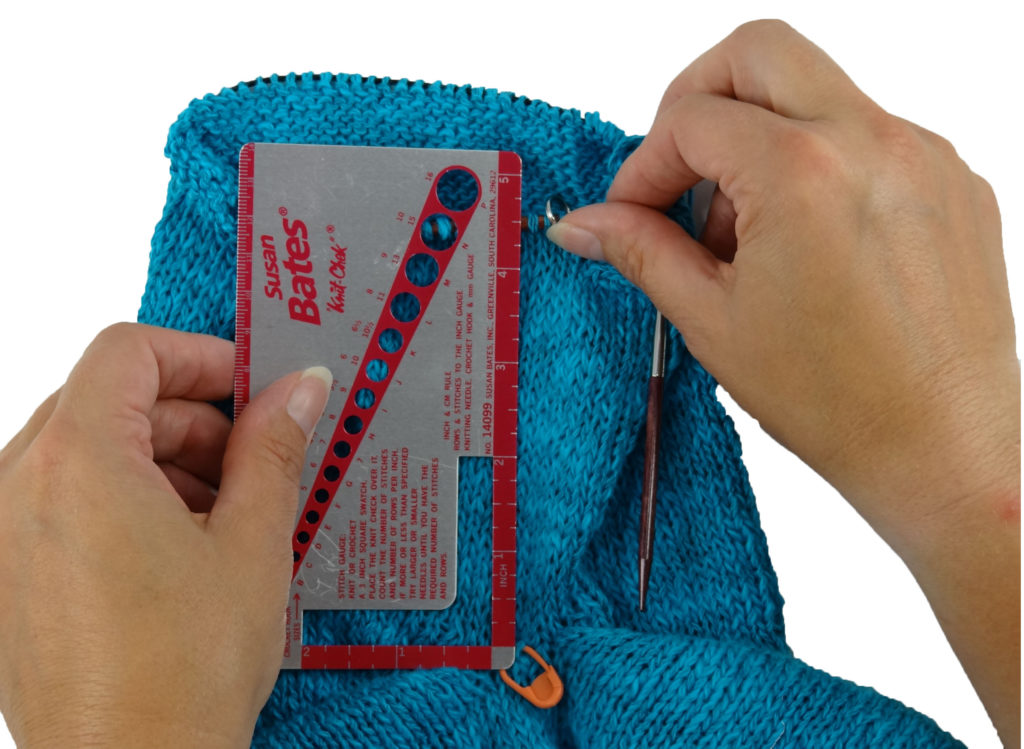
STEP 3: Place a removable stitch marker on this row so that when you measure your sleeve you know where to start the measurement. Usually your pattern will tell you to knit your sleeve for a certain amount of inches. By placing this marker, you will have a specific place to start.

STEP 4: Knit your pattern according to the directions. This may include some decreases depending on the pattern. If you are decreasing, you may want to mark those rows with removable stitch markers because the pattern will usually tell you to decrease every so many inches or so many rows. By marking your decrease row, you will have a starting point if you are going by inches.

STEP 4: Be sure to count your rows as you knit them so that you can do the exact same number of rows on the second sleeve. If you are decreasing be sure to count how many rows you have between each decrease. You want to be able to duplicate the number of rows exactly on the second sleeve. Your pattern will usually tell you to knit your sleeve for x amount of inches measured from the underarm. By placing that first stitch marker to mark your first round you will be able to measure accurately. Lay your sleeve out flat and measure from your needle to the stitch marker which indicates your first round.
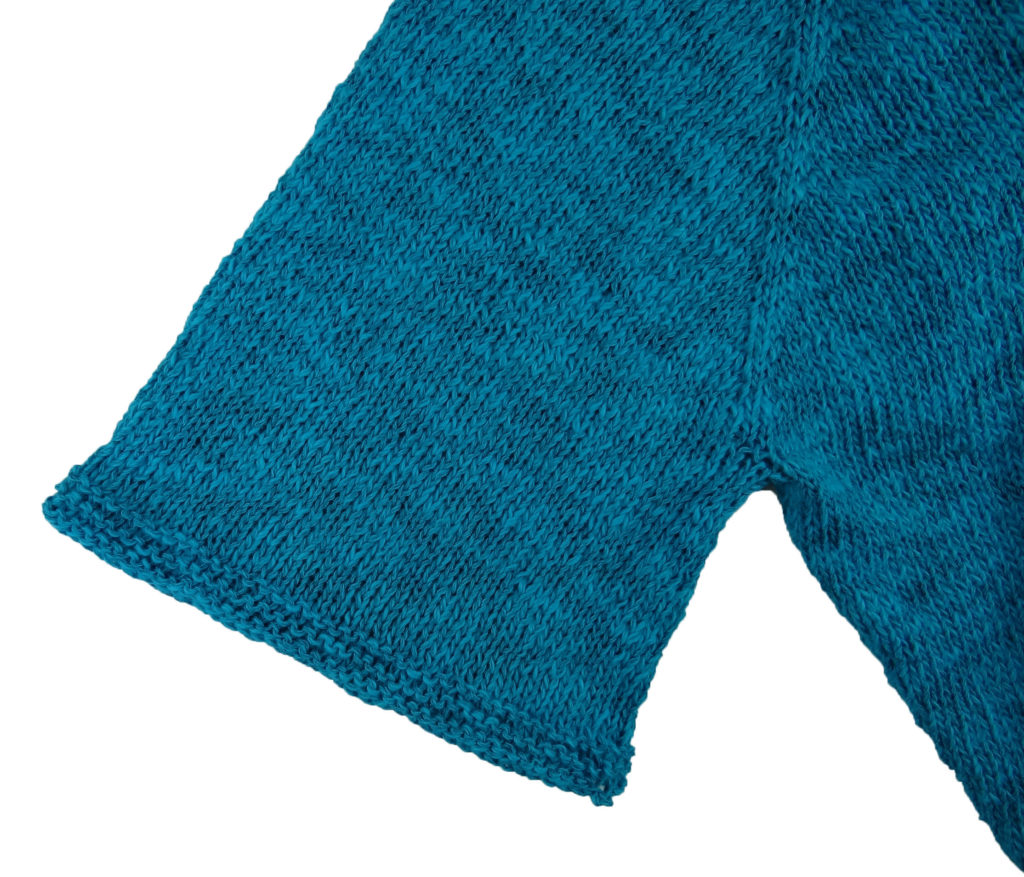
STEP 5: When you sleeve is completed, bind off loosely. If you know that you usually bind off tightly you may want to use a needle one size larger for binding of so that you don’t pull your sleeve too tightly. Repeat this process for the second sleeve.
Knowing how to complete each step on the process of making a sweater will increase your confidence and your ability to complete your project. Taking one step at a time will keep you from getting overwhelmed and confused. Every project you knit will be a learning experience and you will figure out how to improve the next time. Experience is the key so just keep knitting and enjoy the journey. Now you are one step closer to completing your top down sweater. Be sure to leave me a comment and let me know what you are working on and how it is coming along for you. Do you have any questions you would like me to address in future blog posts? Be sure to ask them. The more questions I see, the better I will understand what you need help with.
Knit with Love my Friend,